Envisioning improbable realities
An amazing talent with a signature style of “improbable
realities,” Glen Wexler puts the pro in professional photography.
Working with a full time digital tech/artist and an amazing network of
freelancers that includes a producer, photo assistants, set designers,
model makers, CGI artists, and stylists, Wexler creates scenes that make
you look twice, and then look again.
Photoshop.com had the opportunity
to learn about what inspired him as a young artist, his evolution as a
photographer, and how he creates those wild images! Suspend reality for a
few minutes as you take a tour through the work of Glen Wexler.
Photoshop.com: Which piece of equipment couldn’t you live without and why?
Glen Wexler: The camera. The essence of my work is
recorded photographically. Photography provides the realism I envision
to create photo-illustrated narratives of manufactured, altered or
improbable realities.
Photoshop.com: What role does Adobe®
Photoshop® software play in your photography process?
Glen Wexler: My work relies on the perceived (but
waning) credibility inherent in the photographic image. I recombine
elements of the real world to create a fantastical vision in which the
elements often react in a surreal or absurd manner. This involves the
pre-visualization of the finished image, then breaking down the plan for
the final outcome into manageable components to be individually
photographed and, finally, digitally seamed together.
Photoshop.com: How did you create the result in a particular photo?
Glen Wexler: Eric Idle, from Monty Python, wrote the foreword to my book,
The Secret Life of Cows. When he agreed to do this I was inspired to create an unseen point of view from
Spamalot and
Monty Python and the Holy Grail. The image
“Preflight”
depicts French knights preparing to launch a cow from a trebuchet (a
French catapult) over a castle wall at King Arthur and his page. Eric
explained in an interview we gave to Associated Press that this image
depicts the original implementation of biological warfare. My intent was
slightly more innocent, however, as I wanted to evoke the origins of
the nursery rhyme of the cow jumping over the moon.
The image was created by combining studio photography of a miniature
set of the castle and trebuchet (which actually worked) with a
life-sized cow, talent dressed as a knight, and sky and moon from my
image library.
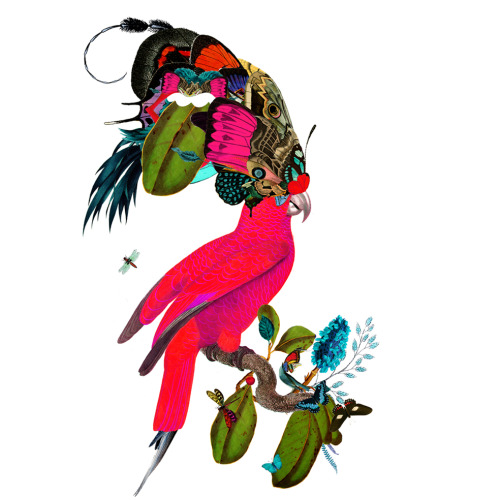
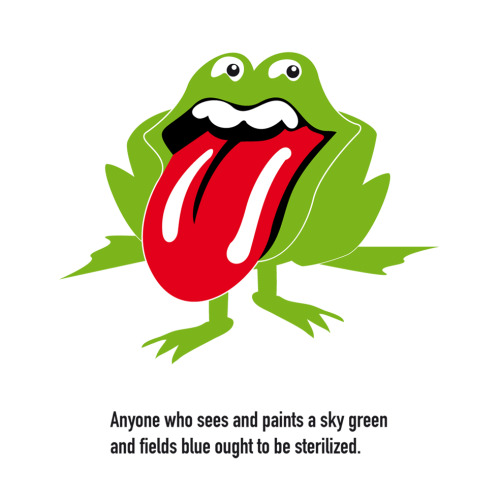
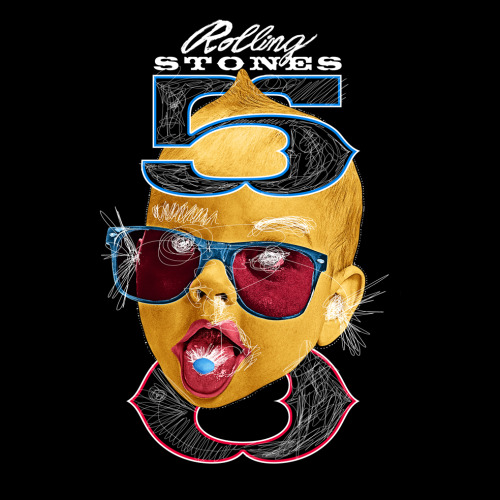
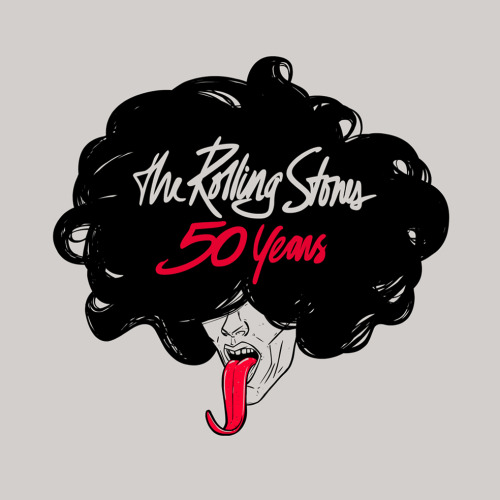
Photoshop.com: Describe a favorite photo you’ve shot and what grabs you about it.
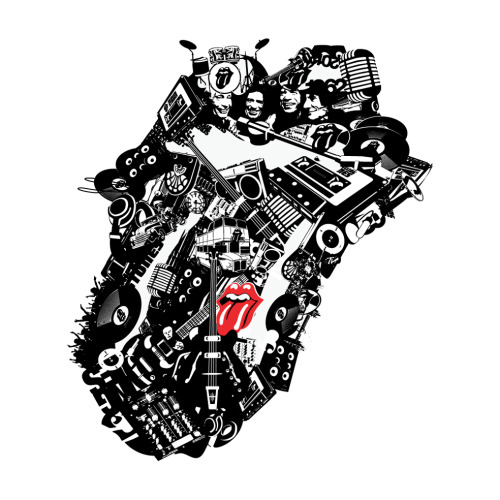
Glen Wexler:
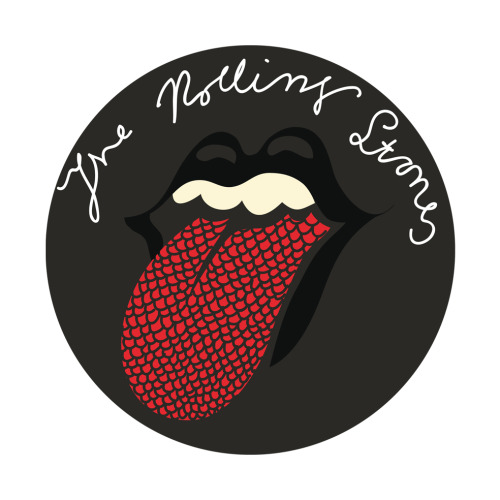
“Sold Our Soul” was from the exhibition and coffee table book of fantasy album covers:
The Greatest Album Covers That Never Were.
The exhibition first opened during 2003 at the Rock and Roll Hall of
Fame & Museum. It was an image that I had pitched for actual album
cover projects, but didn’t create until this project came about. The
image is a strong reflection of my signature style of album cover art,
but was created entirely independent of needing to satisfy the
expectations of the recording artists, managers or record labels.
Photoshop.com: How do you know that a photo is really good?
Glen Wexler: This is a very subjective notion.
Photos resonate or are deemed “good” on very personal levels and based
on the viewer’s specific tastes, emotions, knowledge of art, and overall
visual vernacular. My personal criteria are about the aesthetics and
skillful execution of an original idea or approach.
Photoshop.com: Where did you get your first creative inspiration?
Glen Wexler: The work by Hipgnosis during the
1970s was very influential for me. Many of their album covers were for
some of my favorite recording artists, and those images made up my “art
collection” as a teenager. The blurring of the lines of the photographic
medium was inspirational in terms of pointing to the unlimited
narrative possibilities that could be expressed with altered or combined
photographic imagery. That being said, most of their images up to that
time were obviously manipulated or stripped together. I wanted to make
surreal, conceptual and thought-provoking images, but more “seamless.” I
was looking at photography as a means of suspending disbelief.
Photoshop.com: Are you a self-taught photographer or did you have a mentor or teachers that showed you the ropes?
Glen Wexler: I went to Art Center College of
Design for the technical training that I believed would exceed the scope
of other art schools. It was my intention at that time to use these
skills for my fine art work, but at Art Center I was exposed to the
advertising works of Irving Penn and the fashion photography of Guy
Bourdin, which I started to find more interesting and exciting than fine
art photography. I considered moving to Europe to build a portfolio of
fashion photography, but had the fantasy of shooting album covers. The
recording industry seemed to be a very closed market, but when a door
opened, I jumped at the opportunity and dropped out of school. I was
very young, only 22, and hit the ground running professionally. I was
much too naïve and focused to consider the thoughts of a mentor. I had a
very clear vision of the type of images I wanted to create, and nothing
else photographically was of much interest to me.
Album covers presented the unique opportunity to produce the images I
wanted to create. My images were not applicable to the advertising
market of the time, and it would have been cost prohibitive to create
the work without the commissions. The recording industry provided a
visual “playground” to experiment with elaborate photocompositions and
to define a signature style. With the exception of some very basic
darkroom manipulation projects at Art Center, I am entirely self-taught
in terms of photocomposition, both analog and digital.
Photoshop.com: What are the benefits of working with CGI?
Glen Wexler: Over the past few years CGI has
become a very valuable resource, and can be the best approach for set
elements with certain surface properties. CGI might also allow for more
flexibility in rendering options. For example, on a recent ad campaign
the layout called for a circular staircase to be placed in a lavender
field. The client originally rejected my recommendation for steel and
glass stairs, and wanted the staircase to be all wood. CGI provided the
practical means to show them the options, and in the end the agency and
client agreed with my vision. Other projects, such as creating
steam-punk styled pogo sticks or realistic mosquitoes; CGI was the most
efficient approach in terms of cost savings and creative control.
Photoshop.com: You use a lot of practical models in your work. Can you tell us about your approach to new projects?
Glen Wexler: I love practical models and
miniatures as they provide photographic nuances and realism. Often,
models or sets appear more “real” than the perception of reality, and
are often better for controlling the environment in regards to
composition, lighting and weather. When a new project comes in it’s all
about figuring out the best possible approach and production value. All
of this research is done in advance to provide an accurate estimate to
the client. When the project is awarded the team is assembled and we
start the preproduction phase. This might include model and set
fabrication (practical and CGI), talent casting, wardrobe and prop
procurements, and the development of background images.
My shoots are all planned in advance and are very well choreographed,
as all of the problem solving and most client driven decisions are
worked out in advance. I also have my digital artist on set to verify
lighting and perspective matches of each element being created for a
photocomposition. The postproduction involves the processing of raw
files, retouching and combining of the elements. If I am incorporating
CGI models, the final CG rendering is completed with an exact lighting
and perspective match to the photography, and if applicable,
photographic elements from the shoot might be used to render reflections
onto the CGI models.
Photoshop.com: Describe the most remarkable photo shoot you have done.
Glen Wexler: There are a couple shoots that come
to mind for entirely different reasons. One was shooting backgrounds in
Death Valley. I was out very early morning on a New Year’s Day in an
area call Badlands, which is the lowest point in North America. After
shooting salt flats for about an hour, I was walking back to the main
road when a bus of Japanese tourists pulled up. A group of about 30
people passed me. As I turned around I saw a surreal scene of this
group dispersing; they appeared to be walking into nothingness,
including a nun who had stopped to study a hole in the ground.
Typically, my images are completely pre-visualized, deconstructed and
assembled, but this one was there for the taking. I shoot on location
often for backgrounds. This was the first and only time that a
“completed” improbable reality didn’t need to be constructed.
Another memorable experience was creating the
Balance album
cover for Van Halen. Drummer, Alex Van Halen explained in a creative
meeting that, to the band, the title suggests the “duality of the human
psyche,” and asked me to create a visual based on that concept. At that
point, I had worked on hundreds of album covers, but never with this
degree of thought provoking and unexpected direction.
There were also many challenging advertising assignments, such as
figuring out how to depict a secret agent cow scaling a high-rise
building.
Photoshop.com: What advice would you give to someone who is just starting out in the photography world?
Glen Wexler: Think or feel before you shoot.
Pre-visualize. Understand and respect light. Learn your craft. Be
original. Create trends; don’t chase them. Create bodies of work with a
consistent and unique point of view. If you are selling your work, learn
the business and how to license.
Photoshop.com: What is the ONE lasting impression you want to leave in your photos?
Glen Wexler: When my images succeed, it is when
they engage the viewer in a new experience. I met a musician the other
night from a very famous band at a mutual friend’s wedding. He said that
they were just discussing the new album cover and they wanted a “Glen
Wexler-like” image. Of course, I told him he was talking to the right
guy. For any visual artist, I think a major achievement is leaving a
unique visual imprint.
Hong Kong Photoshop Course